WhatsApp Cloud API: Everything You Need to Know


Are you thinking of using WhatsApp Cloud API and want to learn how it works and if it’s suitable for your business? We’ll break down everything about it and help you decide.
The WhatsApp Cloud API gives you all the tools you need to sell on WhatsApp without the hassle of hosting servers.
If you’re managing sales or looking for smarter ways to engage with your prospects, the WhatsApp Cloud API can be your primary sales communication platform.
What is WhatsApp Cloud API?
The WhatsApp Cloud API is Meta’s cloud-hosted version of the WhatsApp Business Platform. It allows you to integrate WhatsApp into your sales, support, and customer engagement workflows. You can send and receive messages, manage conversations, and use message templates and automation at scale.
Unlike the earlier version of the WhatsApp API (on-premise), which required your team to manage hosting and infrastructure, the Cloud API is fully hosted by Meta. This simplifies setup, reduces maintenance and the access is completely free. So, it’s an attractive option for many businesses.
You can quickly set up your WhatsApp Business Account (WABA) and connect a phone number, without relying on third-party coordination. Meta provides detailed and clear API documentation to help developers integrate their systems with WhatsApp easily.
WhatsApp Business Cloud API features
The WhatsApp Cloud API comes with a range of features that can help you do your sales and offer support to your customers. Here’s a detailed breakdown of what it offers:
Messaging
With the Cloud API, your team can use different types of messages to communicate with your customers, providing them with the much-needed flexibility to close deals. Some of these message types include:
- text
- media (images, videos, audio, GIFs, files)
- contact cards
- location
- interactive messages (list messages, reply buttons, single and multi-product messages)
- message templates for both text and media
- WhatsApp Flows
WhatsApp broadcast
If you want to send messages to multiple customers at once, use WhatsApp’s broadcasting feature. Broadcasts let you reach a large audience without creating a group chat.
You need to use message templates if you want to send bulk messages, and you can personalize them for each prospect. They can include the customer’s name, a product they’re interested in, or any other relevant information.
WhatsApp chatbot
WhatsApp chatbots enable your team to automate customer interactions, answer frequently asked questions, and provide 24/7 support. They’re great for lead qualification and can significantly reduce the workload on your sales team.
For example, you can create a bot flow that automatically captures lead information like company name, use case, team size, etc.
CRM integration
A CRM system is great for managing and nurturing your contact list, but it can silo your teams and data when used independently from your tech stack.
With the Cloud API, you can connect WhatsApp with your CRM easily and manage customer data and communication from one place.
A WhatsApp CRM integration allows you to:
- Track customer interactions for better insights
- Simplify lead management and follow-ups
- Automate workflows
- Message customers directly from the CRM
- Log WhatsApp activities and track key metrics
How to get started with WhatsApp Cloud API
There are primarily 2 ways to access WhatsApp Cloud API: directly through WhatsApp or by partnering with a Meta partner.
Using a WhatsApp platform
When you go through a WhatsApp platform, you get a quick and smooth setup with personalized support. A Meta Partner like Rasayel can help you implement automation tools, integrate with CRMs, optimize customer interactions, and ensure compliance with Meta’s policies.
Through Meta directly
Connecting the WhatsApp Cloud API directly through Meta offers benefits like direct access to new features and no intermediate costs. However, since the API doesn’t come with an interface, this direct connection to WhatsApp Cloud API through Meta means you need to code an interface yourself or connect it to a WhatsApp team inbox.
WhatsApp Cloud API pricing
Creating a WhatsApp Cloud API account is free. Businesses only pay for messaging. At the moment, the WhatsApp Business API uses a conversation-based pricing model, with costs calculated based on 24-hour service windows. Starting April 1, 2025, this model will no longer apply. Instead, with the new pricing model, charges will only apply for outbound templates—whether marketing, authentication, or utility—sent outside the customer service window.
Pros and cons of using Cloud API for WhatsApp
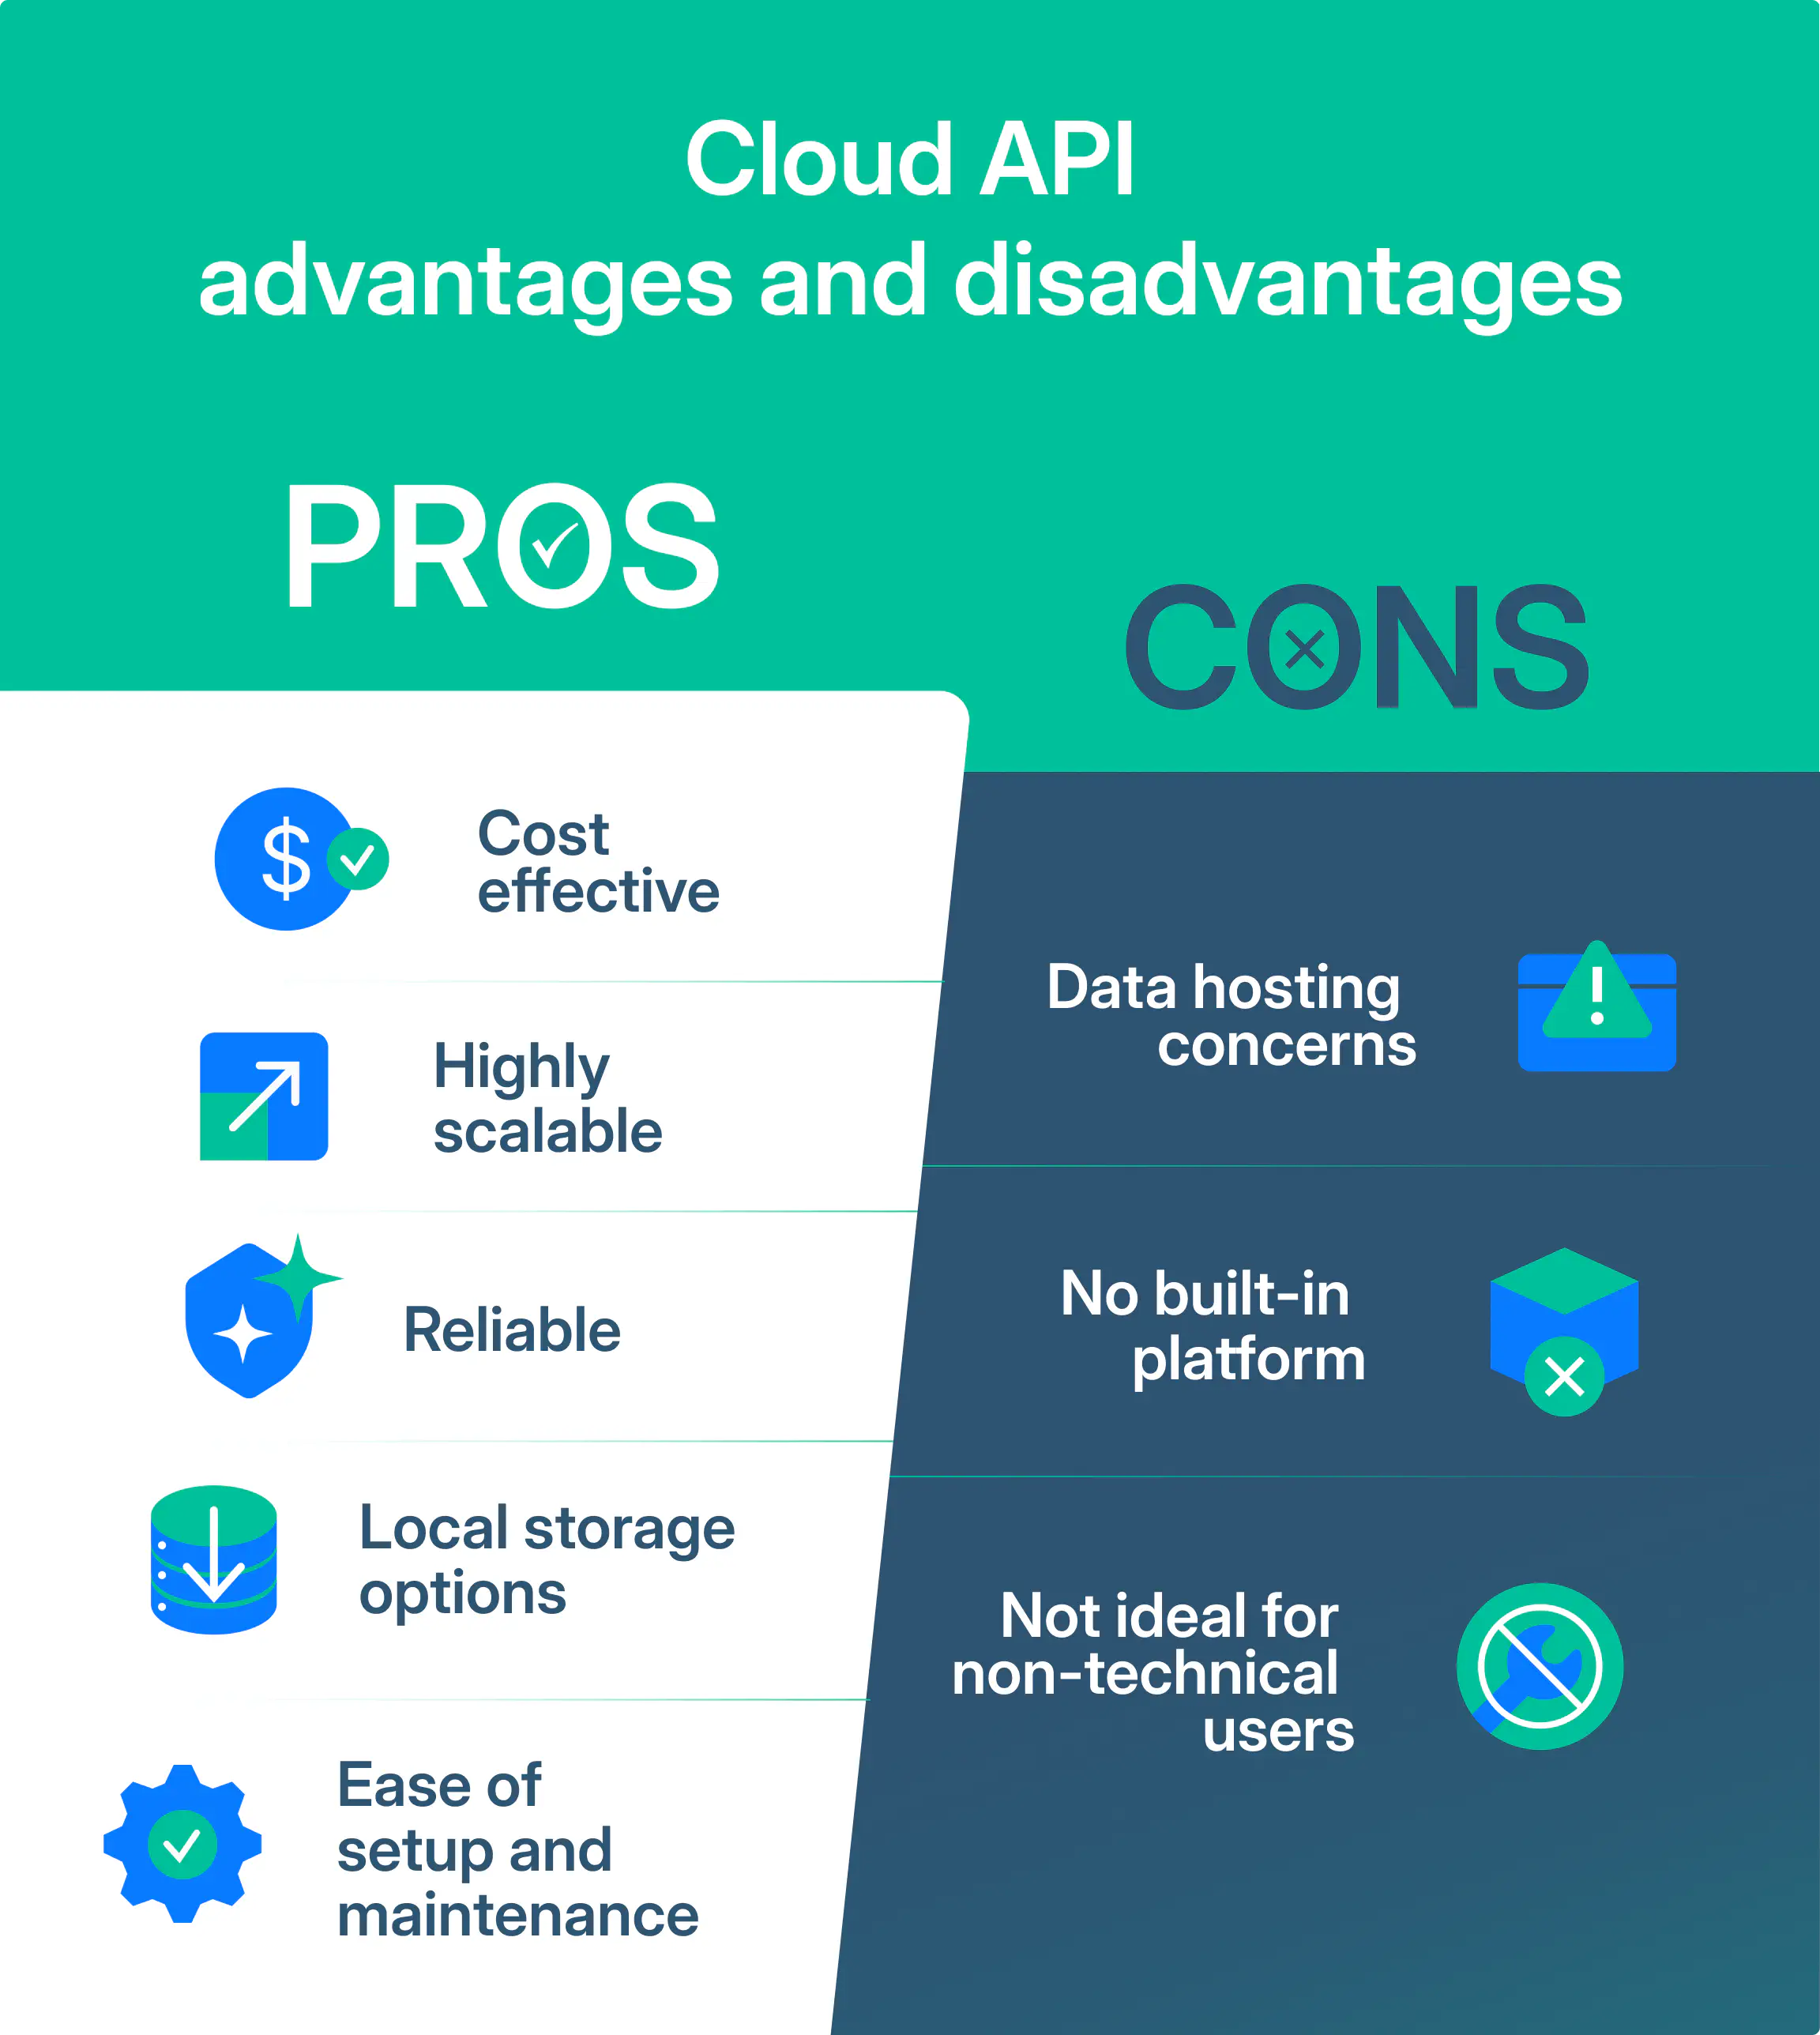
When deciding whether the WhatsApp Cloud API is the right fit for your business, it’s important to weigh the pros and cons. While it offers significant advantages like cost savings, scalability, and reliable performance, it also comes with some challenges, particularly for businesses without technical expertise. Here’s a clear breakdown:
Pros
| Feature | Benefit |
|---|---|
| Cost effective | Reduced setup, hosting, and maintenance costs. For example, some businesses have seen over 90% reduction in infrastructure costs by using the Cloud API. |
| Highly scalable | Supports up to 1,000 messages per second, making it ideal for handling large-scale communication needs efficiently. |
| Reliable | Provides 99.9% uptime and fast response times. Ensures reliable and smooth communication. |
| Always up to date | Updates to WhatsApp roll out automatically. No need to upgrade anything manually. |
| Local storage options | Offers flexibility to control where message data is stored at rest. It helps businesses meet specific compliance or operational needs. |
| Secure and certified | Offers top-tier security with GDPR and LGPD compliance, SOC2 and SOC3 certifications. |
| Ease of setup and maintenance | The WhatsApp Cloud API is hosted directly by Meta, simplifying the setup and maintenance process. |
| Scalability | Easily scale business growth by eliminating the need for server management or upgrades that the on-premises version requires. |
| Support | WhatsApp Cloud API users benefit from direct Meta support. |
Cons
| Feature | Challenge |
|---|---|
| Data hosting concerns | Meta hosts data in North America, which may not align with the strict data laws of some regions, leading some businesses to prefer local hosting options of the on-premises API. |
| No built-in platform | Meta does not provide a ready-to-use platform for accessing the Cloud API. Businesses must build or integrate third-party tools. |
| Not ideal for non-technical users | Businesses without technical expertise or developer resources may find it challenging to set up and use the API directly. |
Key takeaways
The WhatsApp Cloud API offers an easy-to-use, scalable, and cost-effective solution, perfect for sales teams looking to engage prospects, qualify leads, and close deals efficiently. With features like message templates, CRM integration, and automation tools, WhatsApp Cloud API simplifies WhatsApp sales and customer interactions.
That said, businesses without technical resources or those needing a user interface will need to partner with a platform or invest in custom development. You can determine if the Cloud API aligns with your business goals by understanding its features, pros, and cons.
Frequently Asked Questions

Miodrag is a seasoned WhatsApp marketing expert with over 15 years of experience in B2B sales and communication. Specializing in the use of WhatsApp Business API, he helps businesses use WhatsApp’s marketing features to grow their sales and improve customer engagement. As one of the early adopters of WhatsApp Business, Miodrag has a deep understanding of its tools and strategies, making him a trusted authority in the field. His insights have helped many businesses with their communication strategies to achieve measurable results.