Calendly WhatsApp Integration: A Step-by-Step Guide With Zapier

Integrating tools to make work efficient is crucial. Ever wondered how to integrate Calendly with WhatsApp? What if, when someone schedules a meeting with you via Calendly, they immediately receive a confirmation message on WhatsApp? Yep, it’s that simple! And the benefits of using this Calendly WhatsApp integration go beyond just the convenience.
This Calendly WhatsApp integration not only elevates the professional touch but also assures your clients of the scheduled meeting.
This article will guide you through a straightforward process to achieve this integration using Zapier. However, before we dive into the step-by-step instructions, let’s talk about why you should integrate Calendly with WhatsApp:
Benefits of the Calendly WhatsApp integration
- Instant confirmation: Provide immediate assurance to the person who booked an appointment.
- Reduce no-shows: A WhatsApp confirmation can be a more effective reminder than a standard email.
- Increased Engagement: WhatsApp messages have a higher open and read rate than emails. By sending immediate confirmations via WhatsApp, you ensure that your attendees are well-informed and reminded of their appointments.
- Professional touch: A real-time confirmation via a platform like WhatsApp can instill confidence in your attendees, assuring them that their booking has been recognized and logged.
- Streamlined communication: No need to manually send out confirmations.
Getting Started
Before you start, ensure you have:
Step 1: Set Up an Event in Calendly
Before we begin the Calendly WhatsApp integration, we need to create an event in Calendly. This is an important part of the integration, as we need to modify the default event by adding a question in the scheduling process asking invitees to provide their WhatsApp numbers. We will use that number to automatically send them a message when they schedule a meeting.
- Go to your dashboard in Calendly and click Create.
- Select Event type.
- Pick one of the options for event type.
- Click Next.
- Name your event.
- Select a location for your event.
- Click Next.
- Edit the availability options if necessary and click Next.
- Add an additional option → Invitee Questions.
- Type your question.
- In Answer type, select One line.
- Mark Required.
- Click Apply.
- Click Save and Close.
Once you’re done setting up your event, you can add the Calendly link to your marketing materials, inviting users to schedule a meeting with you.
Important: If no meetings are scheduled yet, schedule one yourself and then proceed with the integration. This is important because if you skip this step, you won’t be able to complete the process.
Step 2: Connect Calendly to WhatsApp
Follow these steps to integrate Calendly with WhatsApp using Zapier. Don’t miss any steps:
- Go to your Zapier dashboard and click + Create Zap.
- Click Trigger.
- Select Calendly from the list of apps.
- A menu will open on the right side of your screen. Click Choose an event → Invitee Created.
- You also have the option to choose Invitee Canceled, so you can create a separate flow to address users who cancel the meeting.
- Click Continue.
- If your Calendly is not connected to Zapier, you’d need to sign into Calendly:
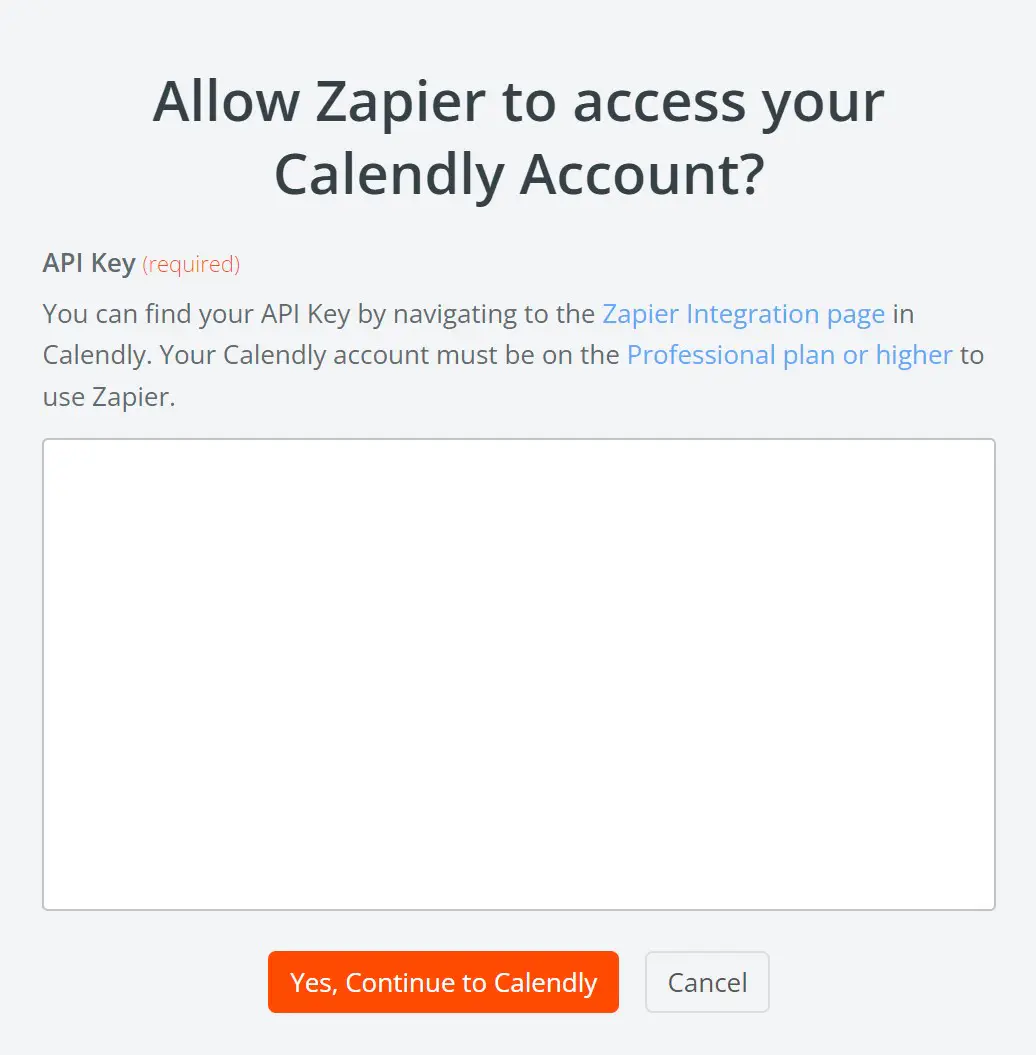
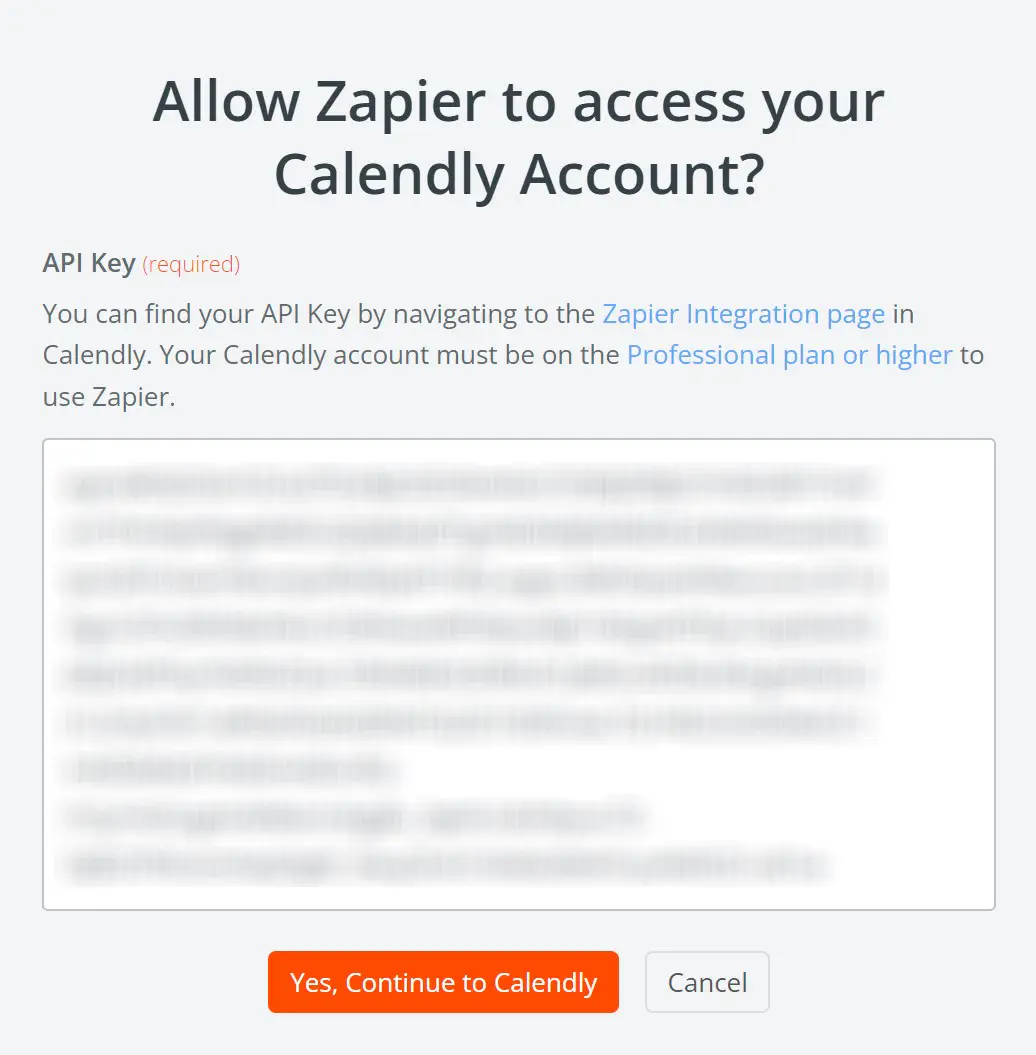
This box will open in a new window, asking you to provide a token:
Step 3: Connect Calendly to Zapier
Start by generating API keys through API management.
- Go to your Rasayel dashboard and click API and connections on the left side menu.
- Select Zapier.
- Click Go to Setup.
- Click API key.
- On the next window, click Generate New Token.
- Click Create token.
- You will receive a two-factor authentication request by email. Enter the code into the box.
- A token will be automatically created. Click copy token.
Paste the token into the empty box.
- Go back to Zapier and click the + sign to add a new step.
- Select Format.
- For Event select Text and click Continue.
- Choose a value to transform → Select Extract Phone Number
- Insert data for input → Select Answers and click Continue.
- Test the step.
- Click the + sign to add a new step.
- In the search box, type Rasayel.
- Select Rasayel from the list.
- Choose an event.
- Select Create a Proactive Template Message and click Continue.
- Click the window under receiver to open the dropdown menu → Select Invitee Created in Calendly.
- Select Answers.
- Select Channel ID (the channel you want to use to send the template from)
- Select the message template (you must create and submit it in advance. The template needs to be approved by WhatsApp before you can use it.
- If the template has placeholders for variables, you must insert data for each variable → Select Invitee Created in Calendly → Select *Invitee Name.
- Click Continue.
- Test the Zap and if the flow is successful, click Publish.
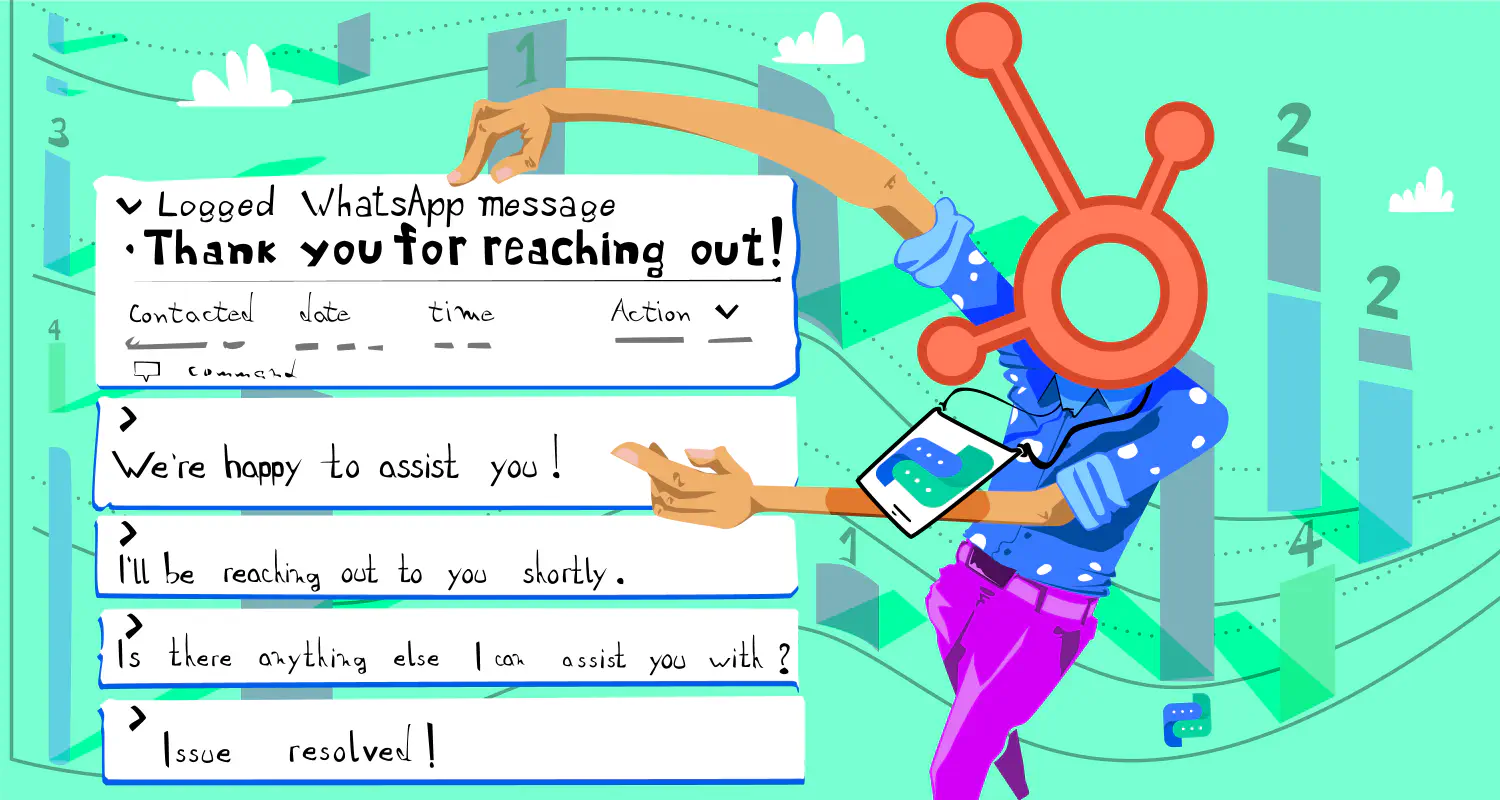
Congratulations! Following this guide, you’ve successfully integrated Calendly with WhatsApp via Zapier using Rasayel. This Calendly integration will not only enhance your communication efficiency but also streamline your appointment confirmations. Happy scheduling!
Conclusion
This Calendly integration with WhatsApp is a powerful way to streamline your appointment scheduling process. This integration not only ensures instant confirmation for your clients but also significantly reduces the chances of no-shows. The added convenience and professionalism it brings to your communication are invaluable in today’s fast-paced business environment. By following the steps outlined in this guide, you can set up this integration effortlessly, enhancing your client engagement and ensuring that your meetings are well-attended.
Frequently Asked Questions
Yes, you can link Calendly to WhatsApp using third-party integration tools like Zapier and platforms like Rasayel. This allows for automated messaging to occur once an event is scheduled in Calendly.
The Calendly WhatsApp integration allows users to automatically send instant confirmation messages via WhatsApp when someone schedules an appointment through Calendly. This not only assures the person scheduling the meeting but also adds a touch of professionalism.
While Zapier offers a free tier, certain functionalities and the number of tasks (zaps) might be limited. The Calendly WhatsApp integration requires a multistep flow, which is only available with a paid plan.
To send WhatsApp messages for scheduled Calendly events, you need to integrate Calendly with WhatsApp using a platform like Zapier. This involves setting up a Zap that triggers when an event is scheduled in Calendly. You’ll extract the invitee’s WhatsApp number from Calendly and use a service like Rasayel to send a customized message via WhatsApp. This process automates the sending of confirmation or reminder messages to the attendees of your Calendly events.
For sending WhatsApp messages to new Calendly invitees, the process is similar. Use Zapier to create a trigger for new Calendly invites. When a new invitee books an appointment, the Zap will trigger and extract their WhatsApp number. Then, through an integration with a service like Rasayel, a welcome or informational message is automatically sent to the invitee’s WhatsApp number. This ensures immediate engagement with individuals as soon as they schedule an event with you.
Learn more
If you'd like to learn more about how WhatsApp can help you grow your business, please reach out to us on WhatsApp at +13024070488 (Click to chat now).
We also offer a free consultation session where we review your use case, answer any questions about WhatsApp, and help you build a strategy to make the best out of the platform. Book a call with us here. We'd love to speak with you:
Book a call: Europe, the Middle East, and Africa
Book a call: LATAM
Curious about Rasayel? Schedule a demo today.

Ashraf is an expert in WhatsApp Business. He has helped 500+ B2B software companies run sales, support, and operations on WhatsApp. He specializes in WhatsApp Business API projects that reduce sales cycles and improve customer experience, and is great at both sales strategies and technical WhatsApp knowledge.